Wednesday, June 3, 2009

..."Giving My Best" Coin Wallet

Giving My Best Coin Wallet

To go along with the story of the Widow's Mite and the concept of "I will give my best to God!", this week we're making coin wallets for the older kids in our children's ministry.

The lacing part of these is easy, but holding things together as you stitch may be difficult for younger kids. I haven't tried it, but holding pieces together with a clothespin as kids are lacing could be helpful.

Prep for this craft:
Cut out plastic canvas pieces
Large - 21x36 squares
Small - 21x7 squares

You'll also need:
Plastic lace
Scissors

Download the PDF assembly instructions here.

Friday, May 29, 2009

...Never Stop Praying Clothespin Magnets

Clothespin Magnets

Never stop praying. It's a reminder we can all use, and for kids it's important for them to learn that we can talk to God all of the time. Whether you're a kid or a grown-up, these magnets will hold on to your lists, artwork, or prayer requests and will serve as a reminder to never stop praying.http://www.blogger.com/img/blank.gif

We'll be making these with glue sticks because they are easy and not too messy. But...if you print out the sheets with a laser printer/copier, or color them with crayons or colored pencils, you can coat them with ModPodge and they'll hold up really well!

Prep for this craft:
Print out Never Stop Praying clothespin sheets:
Color
Black and White

You'll also need:
Standard Size Clothespins
Scissors
Crayons/Colored Pencils/Markers
Glue Sticks
Magnet Strips

Download the PDF assembly instructions here.

Wednesday, May 20, 2009

...King Josiah Spool Dolls

King Josiah Spool Doll

The story of King Josiah the boy king has always been a favorite at my house. So for this week's lesson we're making little spool dolls that look like little kings! These would be fun for other stories, too. You could make spool doll characters for all your favorites, just change the way to dress them!

Prep for this craft:
Glue wooden bead "heads" to wooden spools using wood glue
(do this a few days before you'll be making the dolls so it can set up)

You'll also need:
Scissors
Felt
Craft Glue
Permanent Markers

Download the PDF assembly instructions here.

Wednesday, May 6, 2009

...Mom Mini Books

Mom Book

Happy Mother's Day! (almost)

To celebrate moms, this Sunday the kids at church will be making these little blank books. They can be used to make a coupon book, a journal of things about mom, or even a little scrapbook!

Prep for this craft:
Collect cereal boxes or other lightweight cardboard packaging
Make a few templates for the cover/pages - about 3x5 inches

You'll also need:
Scissors
Paper
Paper Fasteners
Glue Sticks

Download the PDF assembly instructions here.

Wednesday, April 29, 2009

...JOY! Felt Cuffs

Joy Cuff

Our lesson this week is the story of Paul and Silas having joy and praising God while in prison. So to go along with that we're making cuff style bracelets that say JOY. (I admit that I amuse myself with the idea of making cuff bracelets for a story that involves handcuffs. Get it?)

Joy Cuff

After I took a class where felt charm bracelets were made, I've loved this idea, so I was happy to find a way to share it with the kids at church. With a limited time to work on crafts, this is simplified quite a bit. But you could make it more involved if you like.

Prep for this craft:
Cut felt pieces to 2"x8" (one per child)
Sew a large button to one end (optional...you could have kids do this)
Cut a button hole in the other end (again...you could have kids do this)
Cut JOY letters from felt

You'll also need:
Embroidery thread
Needles
Extra felt scraps
Scissors
Glue

Download the PDF assembly instructions here.

Friday, April 24, 2009

...Fish Crayon Resists

Fish Crayon Resist

We start a new unit in our children's ministry this week, and it is under sea themed. So, a few of the projects in the next eight weeks with go with that. This week a crayon resist...

Prep for this craft:
Print out Fish Outlines on cardstock and trim in half
Trim black construction paper in half

You'll also need:
Crayons
Watercolor Paints

Download the PDF assembly instructions here.

Thursday, April 16, 2009

...God Hunt Journals

Something a little different this week. These journals work well as a craft, but we'll be using them in our small groups. Let me describe what we're doing.

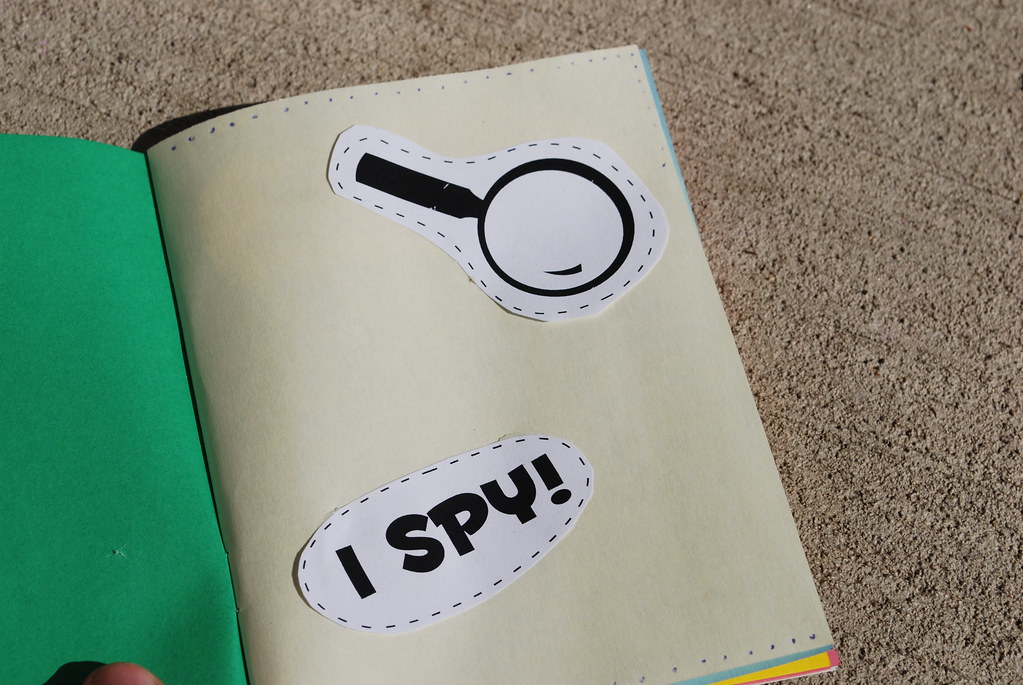
Our lesson this week is the story of Breakfast on the Beach. Jesus surprises His disciples by appearing to them and making them breakfast. We're talking about how we can see God at work in everyday, and sometimes surprising, situations...we just have to be on the lookout. This kind of "I Spy" comes from a book called The God Hunt.

God Hunt Journal

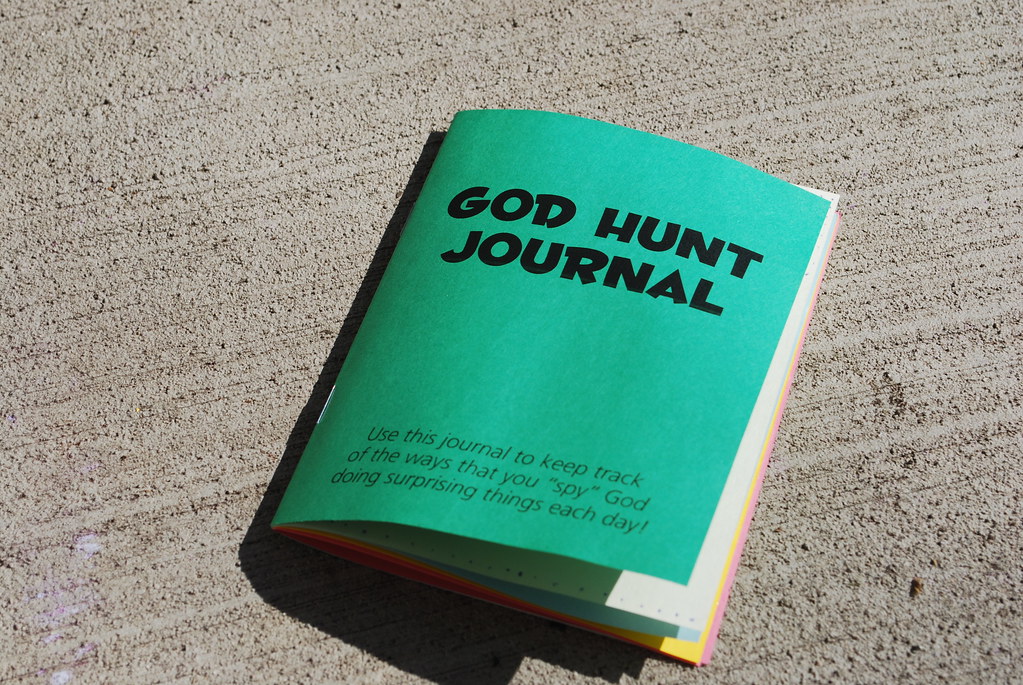
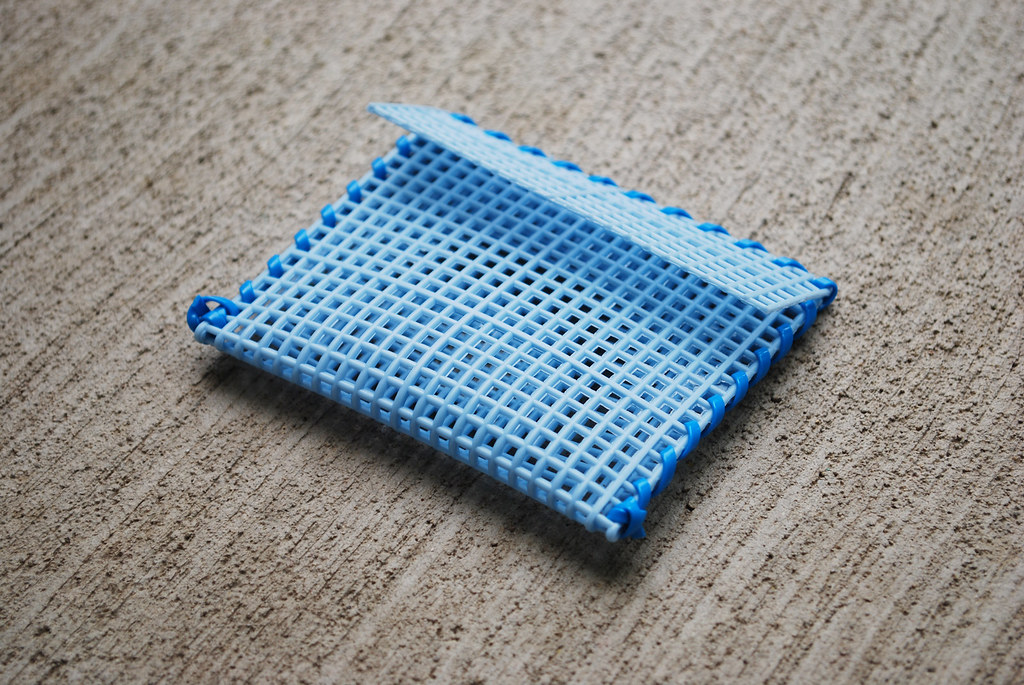
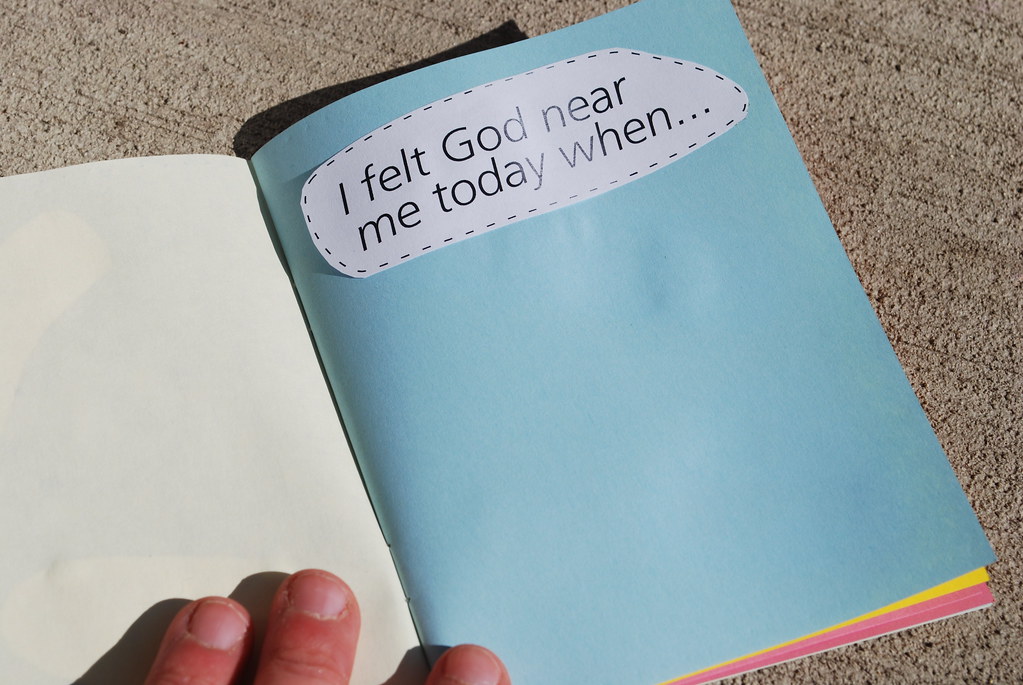
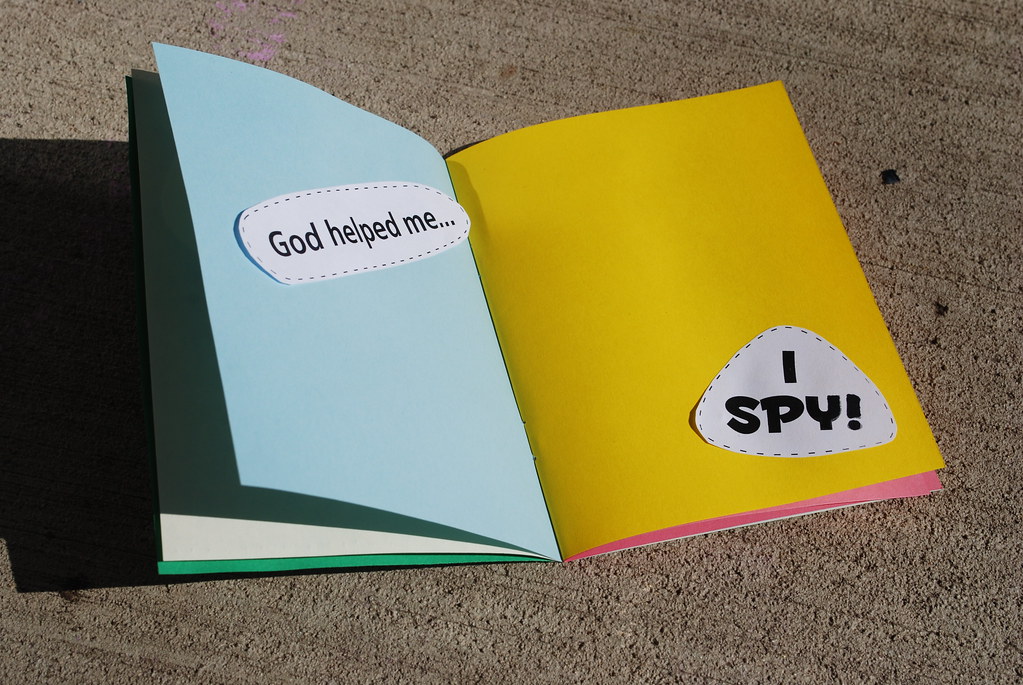
To help kids remember all the amazing things (little and big) that God does for us, we're making these journals. They are blank books that the kids can add cut-out prompts to the pages, then write down the things they see God doing each day.

God Hunt Journal pages

God Hunt Journal pages

God Hunt Journal pages

Prep for this project:
Print out God Hunt Journal Covers
Print out God Hunt Journal Prompts
Trim covers to 5.5" x 8.5"
Trim additional paper to 5.5" x 8.5" for pages

You'll also need:
Staplers
Scissors
Glue Sticks

You can pre-assemble the blank books (as we did) or have the kids fold and staple the pages and cover themselves. Either way, as you are working on these, talk about the amazing ways and places that God shows up each day in our lives!

Wednesday, April 8, 2009

...Jesus is Alive Tissue Flowers

Tissue Flower

Easter is a great day for celebrating! This Sunday in our children's ministry we'll be making tissue paper flowers that say "Jesus is Alive!"

This craft was adapted from a Martha Stewart project, and we'll be doing it with 2nd-5th grade. Wrapping the tape may be difficult for kids younger than this, but it could be adapted for them. (The K-1st grade kids will be making clothespin butterflies instead this week.)

Prep for this craft:
Cut out squares of tissue (4"-8")
Print out Jesus is Alive leaves

You'll also need:
Pipe Cleaners
Floral Tape
Scissors

Download the PDF assembly instructions here.

Wednesday, April 1, 2009

...He So Loved the World Cross Necklaces

Nail Cross Necklace

This coming Sunday our children's ministry lesson is on the crucifixion. (yes, it's Palm Sunday, but the curriculum we are using split up the crucifixion and resurrection into two lessons...a bit crazy, but there it is) As a reminder of Jesus' great love, our 2nd-5th graders will be making nail cross necklaces.

A quick search online turns up various examples of this, either to buy already made, as kits, or just as ideas. This is a slightly simplified version to save money and to make it a bit easier for kids to assemble.

Prep for this craft:
-Purchase 2" and 2 1/2" masonry nails, one of each size for each child (you may want to wipe them off in advance...they usually have a layer of oil that will come off on skin and clothes)
-Cut pieces of 20 gauge jewelry wire, one for each child
-Cut jute or hemp (about 36") and tie into necklaces, one for each child

Download the PDF assembly instructions here.

..."I Can See" Embossed Stationery

Embossed Stationery

This craft was used to cover a few concepts from our lesson. First, one of the stories we used was Jesus healing the blind man, but we also talked about how Jesus showed He is the Son of God by doing many amazing things. Embossed stationery has a braille effect to it, and can be used to tell others that Jesus is the Son of God.

This idea came from a book of Hello Kitty crafts, which has quickly become a favorite of mine!

Prep for this craft:
-Cut out simple shapes from thin cardboard (cereal boxes work well)
-Cut sheets of letter size paper in half
-Run off copies of an envelope template and instructions

Download the PDF assembly instructions here.

Thursday, March 26, 2009

..."How Can I Serve You?" Braided Bracelets

Braided Bracelet

We made these bracelets in our children's ministry last week. The basic idea came from a book of Hello Kitty crafts. They were really simple, and the kids LOVED them.

We used them to illustrate the idea of serving each other, so the kids were asked to trade off holding the bracelet for a friend while braiding. Younger kids (kindergarten/1st grade) had a hard time braiding, so the leaders served them by braiding as needed!)

Prep for this craft:
-Cut fun foam into 1/4" x 7" strips (3 for each bracelet)
-Cut embroidery floss or string into lengths of about 6" (2 for each bracelet)

Download the PDF assembly instructions here.